October 08, 2026




There is a particular satisfaction in a kitchen object you made yourself, especially one that gets used every day. A pebble trivet is that object: small enough to finish in an afternoon, heavy enough to feel like a real thing, and forgiving enough that a slightly wonky line of stones still looks deliberate. All you need is a piece of plywood, a pile of small stones and a bag of grout. Start after lunch and it will be sitting under the teapot by the evening.
Exterior-grade plywood is worth the extra few pounds because it resists damp far better than the cheap interior sort. Everything else you probably already own.
Beach stones, gravel from a garden path, the contents of a neglected aquarium — all fine. What matters is size. Stones between 8mm and 20mm sit comfortably under a dish without making the trivet wobble; anything larger turns it into a lumpy obstacle and anything sand-sized disappears into the grout.
Wash whatever you collect in warm water and dry it on a tea towel. Mud, salt and sand all weaken the bond between stone and adhesive, and it is much easier to clean them now than to pick dried grit out of a half-set mosaic later.
Then sort them loosely. Flat-ish stones with a gentle dome are ideal, because perfectly round ones roll while you are trying to glue them. Group by size first, tone second. A single colour family with three or four accent stones usually looks better than a full rainbow, which tends to read as noise from across the room.
Plywood is chosen here for a reason: it moves far less with changes in humidity than solid timber, so your grout lines are less likely to crack. Cut it with a fine-tooth saw — a tenon saw or a jigsaw on a slow speed — and keep the blade straight. Mark the line, clamp the board to a workbench, and take your time.
Sand the cut edges with 120 grit, then 240, and round the corners and top arrises slightly so nothing catches on a cloth. Then seal the faces and especially the end grain. Diluted PVA works well; a coat of matt varnish is better. This stops moisture from the grout wicking into the plywood, which is the single most common reason homemade mosaics start to bubble at the edges. Let it dry properly before you carry on.
Do this dry, without any glue. Tip the stones onto the board and nudge them into position. Start from the centre and work outwards, or begin in one corner and let the pattern develop in rows — whichever suits you, but commit to one approach.
Aim for gaps of about 2mm to 3mm. Wide enough for grout to travel down, narrow enough that the joints look intentional. When you reach the edges, don't force a big stone into a small space; swap in a smaller one. The eye reads the outline first, so a tidy border matters more than a clever centre.
Concentric rings are the classic choice: place one stone in the middle, then build outward, keeping each ring roughly the same stone size. Alternatively, use stones of near-identical size in a loose grid and drop in two or three darker stones off-centre for interest. Both look considered and neither requires any drawing.
Lift the stones off in the order you placed them — photographing the layout on your phone first saves a lot of guesswork — and glue them back one at a time. A blob of PVA roughly the size of a grain of rice is plenty. Press each stone down with a slight twist so the adhesive spreads, then leave it alone. Resist the urge to fiddle once a minute or two has passed; you will only drag it out of line.
When the whole board is filled, let the adhesive set firm. PVA grabs in about half an hour, but an hour or two in a warm room is safer, and overnight is safest of all if you are not in a rush.
Mix the grout to the consistency of thick toothpaste and work in small batches so it doesn't start to stiffen before you finish.
Stick four felt pads or small rubber feet on the underside. They protect your worktop, stop the trivet sliding, and let air circulate underneath.
This is a piece for warm dishes, not a screaming hot pan straight off the hob. A casserole, a serving bowl, a teapot, a roasting tin that has rested for ten minutes — all fine. Direct heat from a gas flame or a cast-iron skillet at full temperature is not the job for plywood and adhesive, however attractive the top surface looks.
To clean, wipe with a damp cloth and mild washing-up liquid. Skip the dishwasher and avoid soaking it in the sink, since standing water is the enemy of the base. If the grout starts looking dull after a year or two, a coat of grout sealer will bring it back, and any stone that works loose can be lifted out, cleaned and glued back with a dab of PVA.
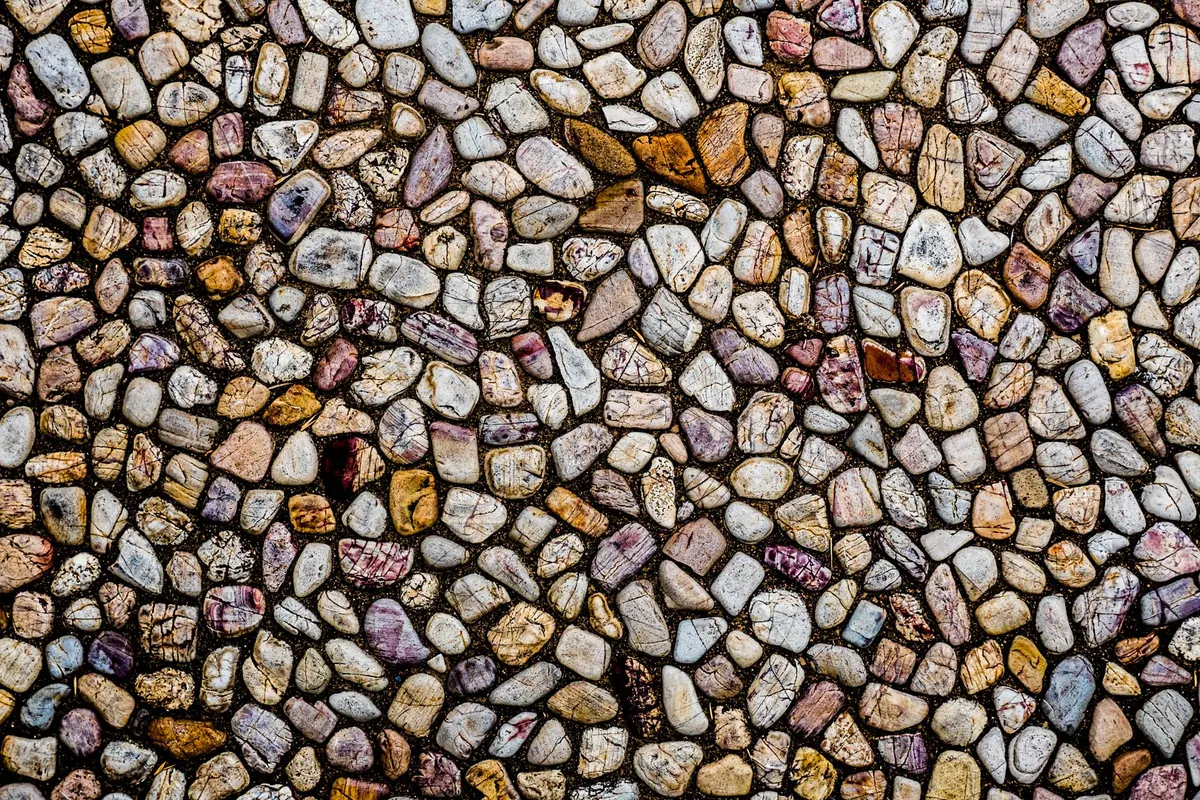
Photo: Piyapong Sayduang / Pexels

A hive of pebble art and craft inspiration..
Copyright © 2026 Pebble Hive. All rights reserved. Pebble Hive.